




A bespoke kitchen is one of the most important decisions when furnishing a home. Unlike ready-made units, fitted furniture designed for a specific room makes use of every centimetre and lasts even 20–25 years. For that to happen, it pays to plan methodically. Here is a proven step-by-step guide.
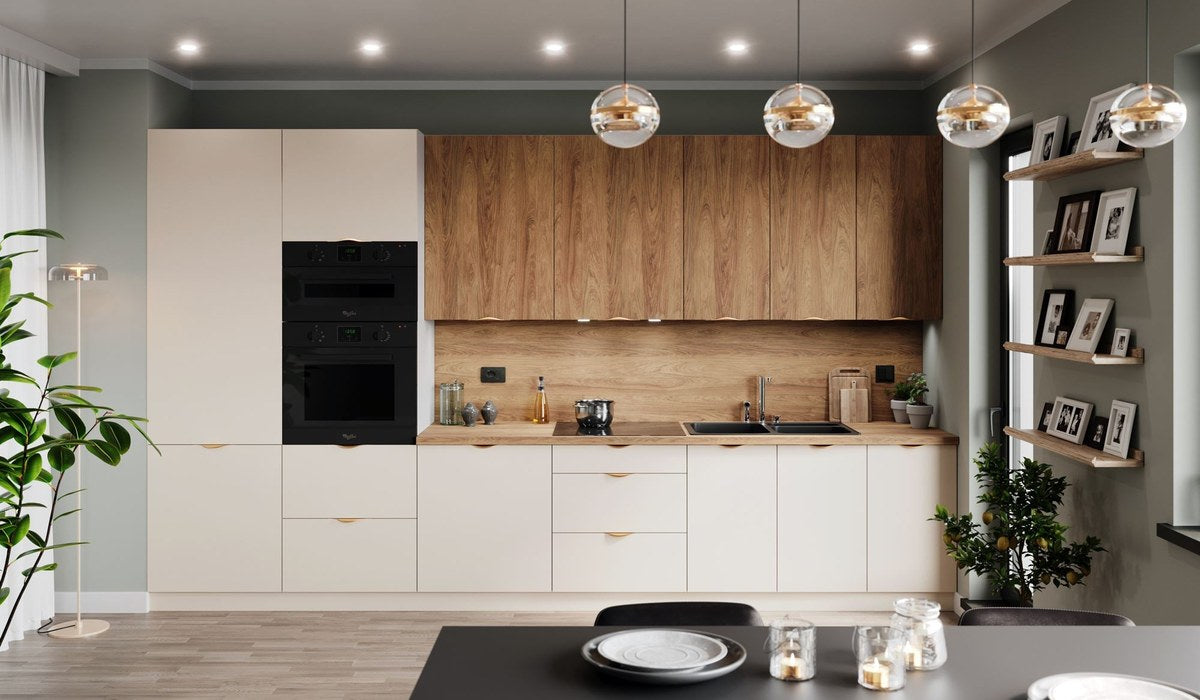
Step 1 — Start with function, not colour
The most common mistake is choosing the colour of the fronts before you know how the kitchen is meant to work. Before you get to that, answer these questions:
- How many people cook here at the same time?
- Do you prefer large open worktops or the maximum number of cabinets and drawers?
- Where should the fridge, dishwasher, oven and microwave go?
- Should the kitchen be open to the living room or separate?
- How many supplies do you keep — do you need a larder unit or a pantry?

Step 2 — Accurate measurements
Measurements are the foundation. Take them yourself before meeting the designer — you will save time and gain a better understanding of the room's possibilities.
What to measure and how
- Wall length — at floor level and at worktop height (85–90 cm); walls are rarely even
- Height to the ceiling — at several points
- Windows and doors — including the distance from corners and the height of the windowsill
- Utilities — sockets, water point, drain, ventilation outlet, gas connection
- Obstacles — pipes, risers, columns, sloped ceilings
Make a simple sketch with dimensions. It doesn't have to be pretty — it has to be complete.
Step 3 — Choosing the layout
The layout depends on the shape of the room and the location of the utilities. Moving a drain or a riser is a major expense — it is better to plan the kitchen around what is already there.
- Single-row — everything on one wall; for narrow interiors and open-plan kitchens
- Double-row (galley) — two rows facing each other; excellent ergonomics with a passage of at least 120 cm
- L-shaped — a classic for square and rectangular rooms
- U-shaped — maximum space; requires a spacious kitchen
- With an island — extra worktop and seating; only where the width is at least 3 m
Step 4 — The work triangle and zones
The golden rule of ergonomics: the fridge, sink and hob form a triangle in which no side exceeds 120 cm. Thanks to this you don't wander across the whole kitchen between tasks.
It also helps to divide the space into five zones: supplies (pantry, fridge), storage (dishes), washing up (sink, dishwasher, waste bins), preparation (free worktop) and cooking (hob, oven). Arrange them in the order in which you work.

Step 5 — Heights and ergonomics
- Worktop 85–92 cm — match it to the height of the main user
- Extractor hood 65–70 cm above a gas hob, 55–65 cm above induction
- Wall cabinets lower edge approx. 50–60 cm above the worktop
- Oven in a tall unit at hip height — more convenient and safer
Step 6 — Materials and budget
Durability is influenced most by the carcasses (18 mm board), the fittings and the worktop. It pays not to skimp on soft-close runners and hinges — these are parts used thousands of times every day. You will choose the fronts later to match the style of the interior.
A good kitchen starts with a good plan, not with a pretty photo. Function first — aesthetics right after.
Summary
Plan the function, measure accurately, choose the layout to suit the utilities, take care of the work triangle and ergonomic heights, and finally choose the materials and colours. With this preparation, the meeting with a Furnipark designer will be shorter, and your kitchen — refined down to the last inch.